
Get Quotation!
We are ready to answer right now! Let us your information we will call you shortly.
I consent to the processing of personal data and agree with the user agreement and privacy policy
Are you looking to create X-ray envelopes that stand out and serve their purpose perfectly? Whether you’re starting a small business or need them for personal use, understanding the full process—from designing to pesting—can make all the difference.
You’ll discover simple steps to make your own X-ray envelopes efficiently, ensuring they are both functional and professional. Ready to take control and master every detail? Keep reading, and you’ll learn exactly how to bring your X-ray envelope ideas to life.
Creating X-ray envelopes requires specific materials to ensure durability and proper protection. Choosing the right supplies makes the process smooth and effective. This section covers essential materials for making X-ray envelopes, focusing on paper types, adhesives, and tools.
Strong, durable paper is key for X-ray envelopes. Kraft paper is a popular choice due to its toughness and tear resistance. Another option is heavy cardstock, which adds extra protection for the X-rays inside. The paper must be thick enough to prevent damage but flexible for easy handling.
Reliable adhesives keep the envelope sealed securely. PVA glue works well for paper bonding and dries clear. Double-sided tape offers a quick and clean seal without mess. For added strength, rubber cement can provide a flexible yet firm hold on the edges.
Basic tools simplify the envelope-making process. A sharp craft knife helps cut the paper precisely. A metal ruler ensures straight, clean edges. Bone folders create sharp folds and creases. Scissors and cutting mats are useful for accurate trimming and protecting surfaces.
Credit: www.shaktienvelopesindia.com
Designing X ray envelopes requires careful thought and precise planning. These envelopes must protect contents while allowing X ray machines to scan them clearly. The design combines size, security, and branding to serve both function and appearance.
Each aspect of the envelope design plays a crucial role in its effectiveness and professional look. Understanding these details helps create the right envelope for different uses.
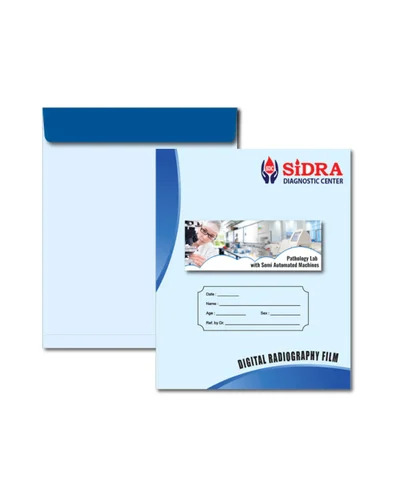
Choose the correct size based on the documents or items inside. Too small, and contents may get damaged. Too large, and the envelope looks unprofessional. Standard sizes fit most needs but custom sizes work better for special cases.
Thickness matters too. The envelope must be thin enough for clear X ray scanning. Yet, it should be strong enough to hold contents safely.
Security is vital for X ray envelopes. Use tamper-evident seals to show if someone opens the envelope. Strong adhesive strips keep it closed during transit. Consider using opaque materials to hide sensitive information inside.
Some envelopes include special lining to block X rays from damaging contents. These features protect both privacy and safety.
Branding adds a professional touch to X ray envelopes. Print logos and company names clearly on the front. Use simple colors that match your brand identity. Avoid clutter to keep the design clean and readable.
Contact details can go on the back or inside flap. Well-placed branding builds trust and makes your mail stand out.
Cutting and folding are key steps in making X-ray envelopes. These steps shape the paper into a protective, neat package. Proper cutting and folding ensure the envelope fits X-ray films well and stays secure. Each step requires care and accuracy.
Start with a sharp blade or scissors for clean edges. Use a ruler or cutting mat to guide straight cuts. Mark measurements clearly before cutting. Cut slowly to avoid jagged edges. Avoid tearing the paper during the cut.
Fold along pre-marked lines to keep shapes accurate. Use simple folds like valley and mountain folds. Fold edges inward to create pockets for X-ray films. Press folds firmly with fingers or a tool. This keeps the envelope crisp and strong.
Measure twice before each cut or fold. Use tools like rulers and bone folders for accuracy. Align edges carefully during folding to avoid misfits. Check each fold’s sharpness to maintain structure. Precision prevents damage to X-ray films inside.
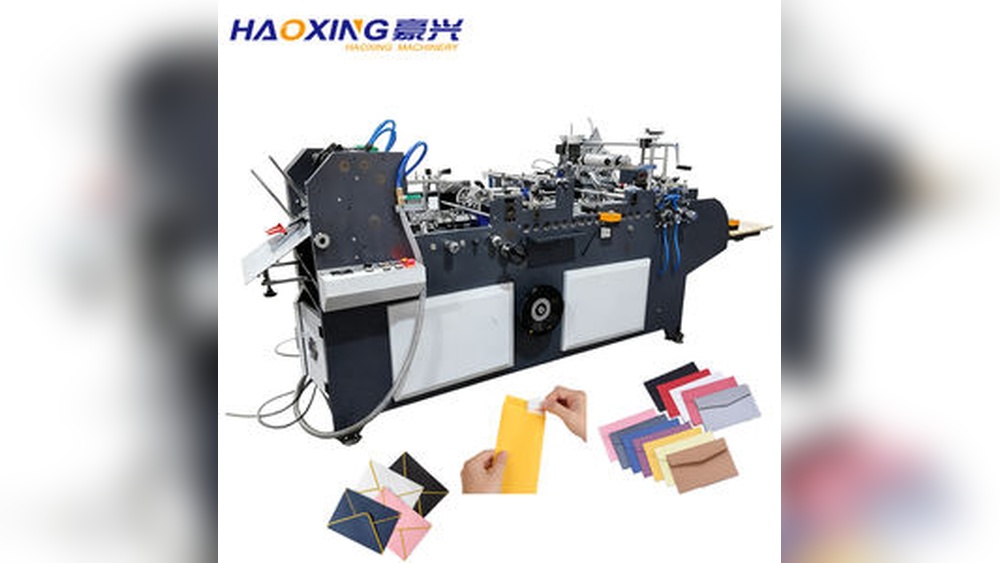
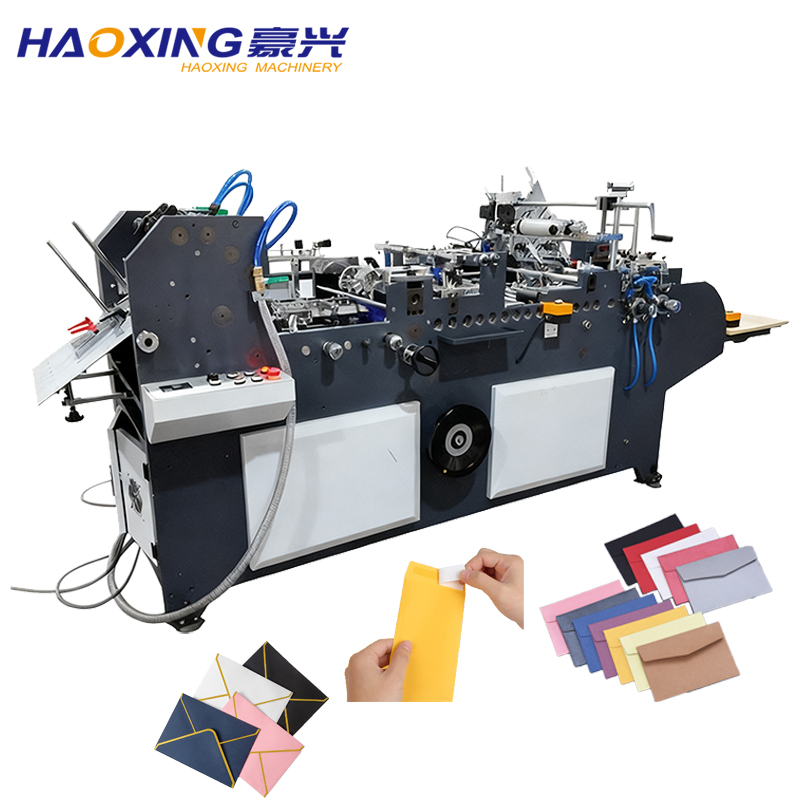
The pesting process is key to making strong X-ray envelopes. It joins the envelope parts securely. Each step must be done carefully. This ensures the envelope stays sealed during use. The process starts with applying adhesive. Then, sealing methods come next. Finally, quality checks confirm everything is perfect.
First, apply the right adhesive to the envelope flaps. Use a glue that sticks well to X-ray film and paper. Apply evenly to avoid lumps or gaps. The adhesive should be strong but not messy. This helps the envelope hold its shape.
Next, fold the envelope flaps carefully to seal them. Use pressure or heat to make the seal tight. Heat sealing is common because it creates a clean, strong bond. Press the edges firmly to avoid openings. A good seal protects the X-ray inside.
Finally, check each envelope for sealing quality. Look for gaps, weak spots, or adhesive issues. Test the seal by gently pulling the flaps. Only strong, well-sealed envelopes pass this step. Quality checks prevent damage during shipping or handling.
Testing and finalizing are key steps in making X-ray envelopes. These steps ensure the envelopes work well and last long. You check their strength, transparency, and packaging quality. Careful testing helps avoid problems later. It also makes sure the envelopes meet the needed standards.
Durability tests check how strong the envelopes are. You bend, fold, and press the envelopes. This simulates real use and transport. The envelopes should not tear or lose shape. Strong glue and good material are important. These tests help find weak spots early. Fixing problems here saves costs later.
X-ray transparency is crucial for these envelopes. The envelope must show clear images without blocking details. Use an X-ray machine to test each batch. Look for any spots that reduce clarity. The material should be thin but strong enough. Clear images help doctors and security staff. Transparency checks keep quality consistent.
Packaging protects envelopes during shipping and storage. Use sturdy boxes and protective layers. Label packages clearly with product details. Organize envelopes so they don’t get crushed. Good packaging reduces damage risks. It also makes handling easier. Prepare for safe delivery to customers or stores.
Credit: www.alibaba.com

Credit: www.sciencedirect.com
To make X Ray envelopes, you need X Ray film sheets, envelope paper, adhesive, and cutting tools. Choose materials that protect the film and ensure easy handling. Quality materials ensure durability and clarity during storage and transportation of X Ray films.
Design an X Ray envelope by measuring the X Ray film size. Add space for labeling and protection. Use clear markings for patient details. The design should be simple, functional, and durable to protect films from damage.
Pesting involves sealing the envelope securely using adhesive. Apply glue evenly on the flap edges. Fold carefully to avoid air bubbles. Press firmly to ensure a tight seal. This process protects the X Ray film from dust and moisture.
Use clean, dry materials and a dust-free environment. Store envelopes away from pests and moisture. Regularly inspect and replace damaged envelopes. Proper sealing during pesting also prevents pest entry and maintains film safety.
Making X-ray envelopes involves clear steps from design to pesting. Each part matters to ensure quality and safety. Follow the process carefully to get strong, reliable envelopes. Use the right materials and tools for best results. Practice helps improve your skill and speed.
Keep your workspace clean and organized. This simple guide helps anyone start making X-ray envelopes with confidence. Try it yourself and see how easy it can be.